Friday, November 2, 2012

Luggage Buddy

This is the original prototype
My husband travels extensively with work, and was lamenting about his black on black on black suitcase, and how it looks just like everyone else's black on black on black suitcase. Then he said something brilliant: "I wish it had some sort of bright cover over this handle or something so I could spot it quickly." Done and done! Here's how to make your own:
Supplies:
 
  •  · Scraps of fabric (2) at least 5x5 inches, one scrap at least 3x5 inches
  • · 4 inches of sew-in Velcro (both sides)
  • · Thread to match or contrast
  • · About five minutes of time (okay, maybe 15 - 30 if you happen to be taking pictures of every step)
 
The one I made for my husband is black and white skull fabric trimmed with orange - this one with the flames was for a buddy of his.
The photos below are for one I made for the gift stash.
gift stash...or for me?
Cut your back fabric into a 5x5 inch square, and two 1.5x5 inch rectangles.
the yellow is the back and sides - adjust the widths if you want more side border
Cut your front fabric into a 4x5 inch rectangle.
 
Sew the skinny strips of your back fabric to the front fabric, right sides together. Press. Cut your newly sewn square into a true 5x5 inch square.
 
I use a 1/2" seam allowance on most everything
 
ironing directly on my granite countertop?  why yes I am.
 
cut back down to a 5 inch square if needed
Place right sides together, sew around the outside edge, leaving a gap in one side for turning. Clip your corners, if you choose (it will create less bulk, but is unnecessary). Turn right side out. Press.
 
placing right sides together
 
see the gap?
 
clipped corners - don't get too close to the seam!
 
I like to use a chopstick to push the corners out.
Starting just above the opening left for turning, topstitch the entire square 1/8" from the edge.
 
super close to the edge
 
edges are sealed
I also sew a few times through the middle for strength, but this is probably unnecessary.
 
see the topstitching?
Place your Velcro. I like to have the scratchy (hook) side on the backside, so it will always be covered on the inside. Stitch the Velcro down. Turn your work over, and place the soft (loop) side of Velcro. Stitch it down.
 
I like the scratchy one to be on the backside so it stays hidden.
 
sew close to the velcro edges
 
repeat with the soft side on the front edge
 
see the hook on the back?  the soft loop side on the front
 
finished and closed!
 
finished in action...
 
Now go put it on your suitcase! But beware – my husband was so excited, he posted a picture on Facebook and three of his friends immediately wanted one for themselves. I have since made for them, as well as my mother and godmother. Make a bunch and keep them on hand for last-minute gift ideas!
 
This is a picture of the one I made for my husband's friend - after 250k miles!

Friday, January 27, 2012

Art Journal

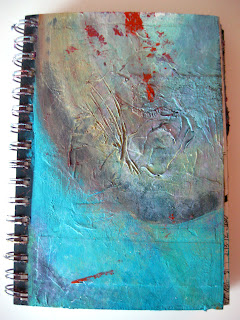
The Art Journal Cover - in its third incarnation.  I especially like the accidental orange paint that got on it while I was working on an inside page.


Hello and welcome back! I've certainly been creating stuff in the past few months, but I'm afraid family life and whatnot has gotten in the way of posting. But I thought I'd let you in on my latest project: the Art Journal. Now, I'm not really using this as a "journal" per se, though I am learning to like some text in artwork. Instead, my intent is to play with paint and collage and doodling and whatever other processes and mediums I fancy. And it's just that: PLAY. There are no mistakes. I'm sharing this with you, but my intent with the journal is for it to remain private and safe, so I can "mess up" a bit and learn how to make it into something I really do like.
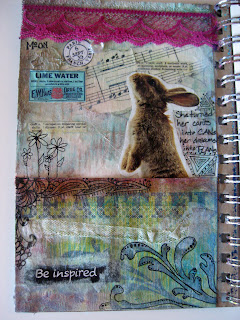
Front inside cover:  "bunspiration"
collage, pen & ink, paint, found object
remember the coffee filter flowers?  I keep everything.
I like them as they are. 
Some of these pages are finished, others are works in progress, some will never be completed.  I share them with you as an inspiration, to try new things in this new year.  I haven't picked up a paintbrush since I was in college.  I've never worked with gel mediums.  I've never done collage.  I haven't doodled since I was in high school.  I'm trying to explore the "art" side of me, and help it grow as much as the "craft" side has.
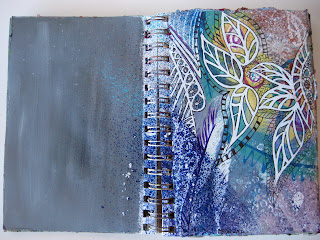
My first attempt at loosely following the online (free)
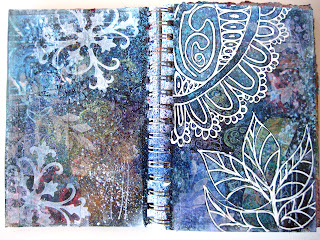
Strathmore class "Doodles Unleashed" check it out - its wild!


There's also something very real going on for me here:  my dad died suddenly of cancer a little over a year ago, two weeks after my baby girl was born.  This journal, and this journey, is allowing me to actually find out what "art therapy" is all about. 
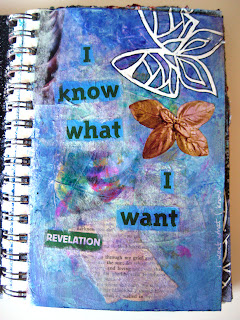
"what I want" collage, paint, found words


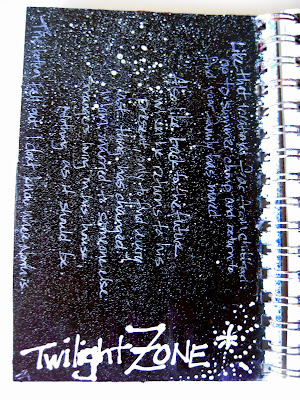
"twilight zone" black gesso, white watered down spray acrylic,
white gel pen, gloss gel medium


When I make a page, I have no agenda. I don't know what it will look like when I'm done.  I don't really know what I'm doing.  And it is SO liberating.  Sometimes they "say" something.  Sometimes I just want to play with light and dark and color.  Sometimes I just want to glue a bunch of stuff to a page and then cover it all up with paint and stamps and drawings and see what happens.
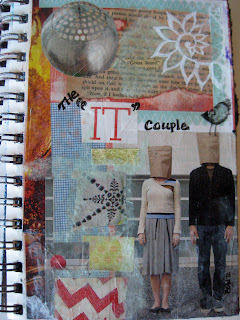
"the IT couple" collage, paint, stamp, pen & ink, white gel pen
and I put a bird on it.

"spray doodles" collage, spray acrylic, stamp, paint, white out pen


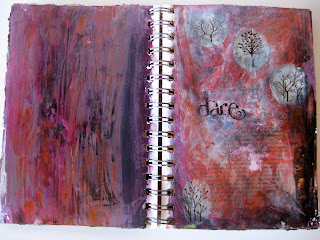
"dare" collage, gel image transfer, paint, gel medium


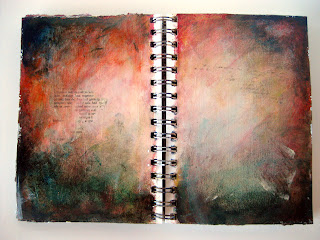
playng with contrast and color "orange & green" paint, image transfer, gel medium


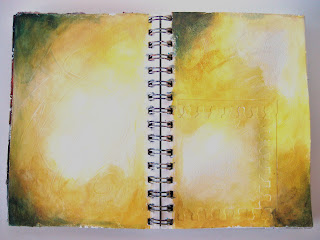
playing with contrast and color "yellow and green" collage, paint


I encourage you to do something similar.  Get out of your box of what is "right" and what is "wrong".  In art, those words really have no meaning.  I use a Strathmore Visual Journal, but you can use whatever you want.  Do what makes your heart happy.  Try something new.  If you don't like it, cover it up.  My only rules are I can't tear out a page.  If you don't like it, come back to it later.  Change it.  Make it something you never expected.  Don't get bogged down with having the "right" supplies.  Use what you have.  Use things in new ways.  Cut stuff up.  Glue stuff down, and cover it up.  Paint a separate page and cut it up to use as collage. Whatever you do, MAKE SOMETHING.  It will be amazing, I promise.
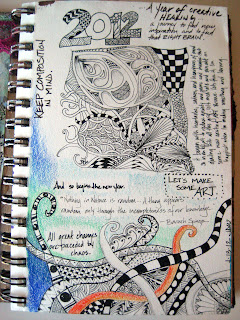
inspired by Zentangles - title page.  Some quotes,
some ruminations, some mission statements.

Please, comment!  If you have more specific questions about processes, inspiration, colors, tools, whatever, please - ask.  If you want more resources for inspiration, please ask!  I have more resources than I know what to do with.

And I will leave you with Yoda:  "do or do not, there is no try."

Thursday, September 15, 2011

Kitchen Tips: Cleaning Glass Bakeware

I love my Pyrex baking dishes.  I use them all the time for everything from lasagna to roasted veggies, to roasting all the ingredients for my delicious Roasted Red Salsa (which I make at least weekly).  In fact, I just made another huge batch, this time using only tomatoes from my mother's garden, as well as garden peppers, and much beloved Hatch chiles.  It is SO super delish.  But I digress.

After making all this yummy food, my glassware is starting to look gunky.  Even after scrubbing and scrubbing, still that baked on funk won't come off.  In fact, this is how it looks with all it's "clean dirt":

This is as clean as I've been able to get it.  "Clean Dirt"


Then I remembered reading this little tip from RealSimple:  use tin foil to clean your glass bakeware.  Um, really?  I had to try it.  And let me be the first to tell you, it WORKS.  And not just a little, it really, REALLY works.  See the proof:

Before...

After!


I was so excited I had to call my mom.

Thursday, August 25, 2011

DIY Microwave Popcorn


Oh yes.  Instant popcorn without all the weird greasy coating in your mouth.  No additives, no preservatives, and amazingly enough, no oil! 

My 4 year old son just had his tonsils and adnoids out two weeks ago, and the only thing in the world he wanted was popcorn - which was on the no-no list.  So when the doctor gave him the all-clear, look out!  All I've been doing is making popcorn.  Sadly, he won't let me use the air popper, probably because it's circa 1975 and sounds like a jet engine taking off.  So I begrudgingly bought microwave popcorn, and immediately remembered why I don't like it - that gross greasy salty coating of the mouth. 

Then I found nirvana.  I was innocently browsing Pinterest, and came across this incredible post on SquawkFox.  She has such a brilliantly simple tutorial, with such lovely pictures, I highly recommend you go there.

I will, however, tell you a couple things I learned.  I used the basic lunch bag size paper bag and 1/2 cup popcorn kernals, but after about two minutes, it was so full of popcorn and hot kernals, it came open at the top and burst a seam on the bottom.  So I pushed stop, and ended up with a lot of unpopped kernals:

A bunch of leftovers - hence, using less next time.

Next time, I will use 1/3 cup of kernals.  Other than that, AMAZING.  So incredibly light and fluffy, and WAY sweeter than store-bought microwave popcorn.  Oh, and not greasy and coat-your-mouth gross.  I like a little I can't believe it's not butter spray and salt, or a little butter spray, splenda, and maybe even some cinnamon. 

What do you like on your popcorn?

Tuesday, August 23, 2011

Happy Hour - Scotch & Soda


It's happy hour around our house, and I for one take that pretty seriously.  This post is simply a little shout out to my friend Marie, who introduced me to this amazing summertime drink.  Not only is it clean, cool, refreshing, and perfect on a hot day, it also harkens back to my childhood:  the classic Scotch & Soda from the drive-in, with all it's sweet vanilla goodness, but with a little more, um, oompf.  And I am a big fan of oompf.

Here's how to make one for yourself.  You need:


Vanilla vodka.  I buy Smirnoff, because it is good, but cheap.  My mom splurges and gets Absolut.
Sprite Zero.  No sugar.  No calories. 

You can stop right there, but for a little extra somethin' somethin', you can also add:

Vanilla syrup - like Torani sugar free.
Lemons (not pictured, because I ran out.)

Take a large glass.  Yes, a large one, you'll thank me later.  Fill it with ice.  Pour a bit of vodka in, to taste.  Start with about a shot, add more as you like.  I like more.  Sue me.  If you like sweet, a tiny splash of vanilla syrup is great here.  If you have lemons, they are amazing in it.  Wedge some up, squeeze a bit in, and muddle the rest with the ice and vodka.  Top it off with Sprite Zero, and stir.

Then enjoy.  And after you suck that one down, go make another.  Just be sure you drink responsibly.  These things can sneak up on you ;)

uh-oh.....
Looks like this one's broken.  Better go fix it...