
 Summer is upon us, and finally some nice weather! With that comes plenty of outside time, especially with the kids. We love backyard picnics, but I'm hesitant to take those beautiful quilts my grandma made out onto the grass - especially park grass which seems to be perpetually wet.
The solution: a quick-and-easy-to-make blanket that is waterproof on one side!
I found a couple of vinyl tablecloths on clearance at Walmart recently (I paid $1.50 each). You know those ones with the nasty flannel back that snags on everything and acts like the Halloween cobweb stuff? Yeah, those ones. Why not cover that nasty stuff with nice fabric? I bought the 52x70 inch oblong size, figuring that should work, and would take no more than two yards of fabric.
You can make one too! Pick your size of tablecloth - the square ones would be nice to. Here's what you need:
one or two flannel back vinyl tablecloths (two if you just want to sew them together)
yardage of a coordinating fabric (or not, see above)
thread, sewing machine, scissors, etc.
about 20 minutes if you don't stop to take pictures
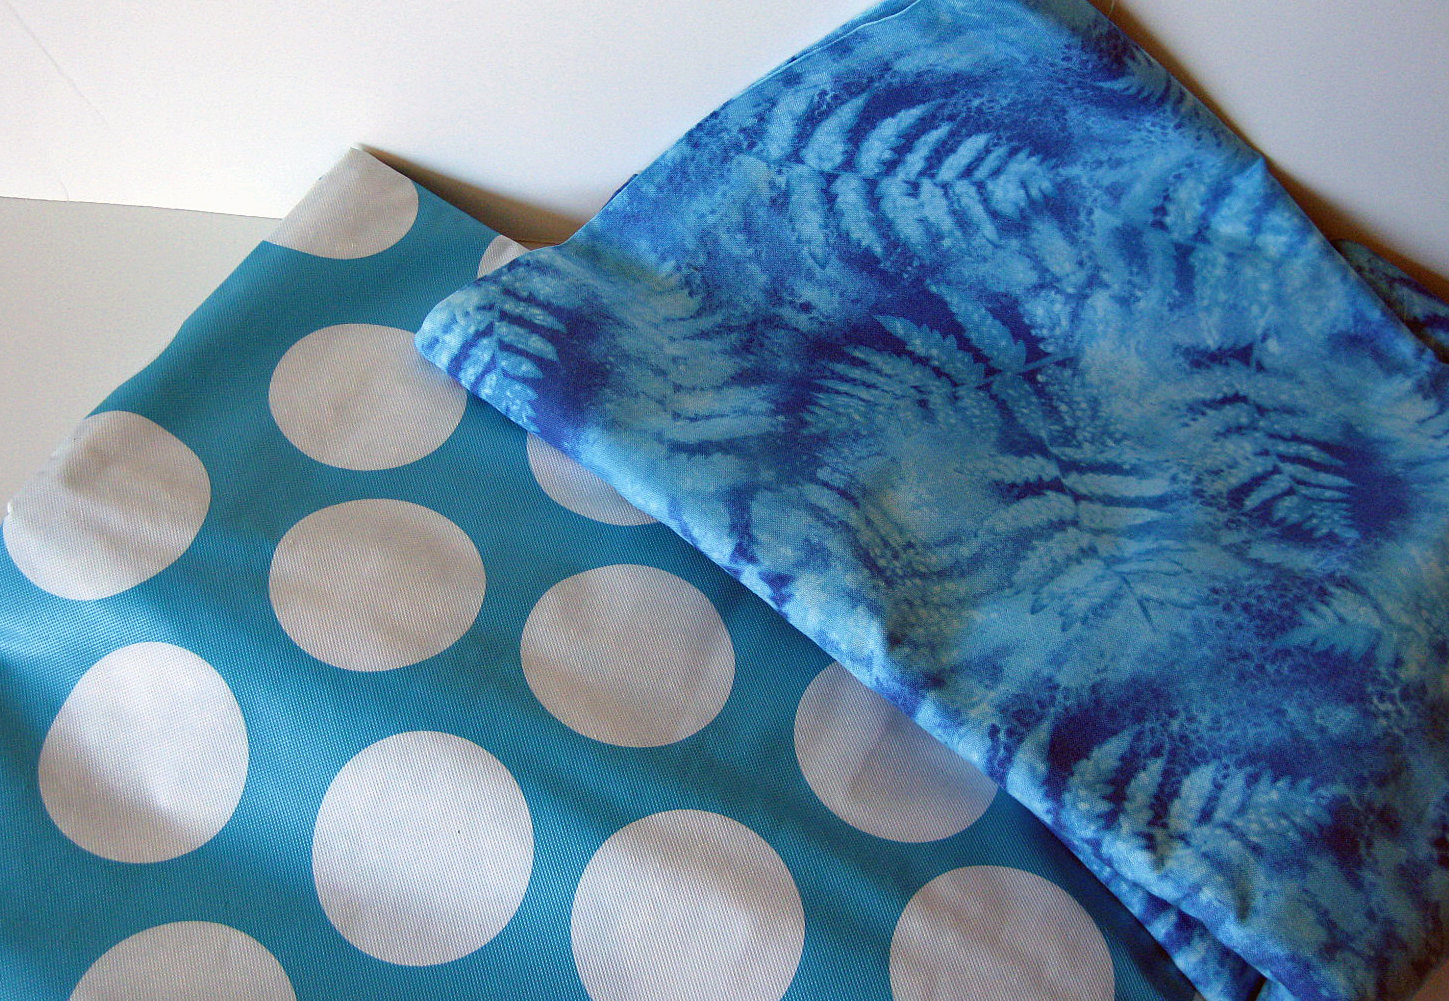 |
| polka dot vinyl tablecloth, blue fern type print cotton quilter's fabric |
I raided my fabric stash (JoAnn Fabrics was closing a couple of their stores a few years ago and I scored a ton of yardage) and came up with two yards of a semi-coordinating fabric for the blue polka dot tablecloth.
Lay the vinyl tablecloth flannel side up, and lay your coordinating fabric on top, right side up. You're making a fabric sandwich, and hiding all the insides.
 |
| yes, I know these are not wrong sides together. This shot is the only one I took pre-sewing |
Trim your fabrics. I trimmed mine so that there was about 2 inches extra vinyl around my other fabric.
You can do your edges however you want, but I just folded my vinyl cloth in to meet the contrast fabric, and then again to hide the raw edges. Sew. I didn't bother to pin, as the flannel seemed to hold my other fabric in place - bonus!
You're done! Take it outside and give it a test drive.
 |
| it helps to have cute models, even if I couldn't get the light adjustments right on the camera |
Feel free to comment, question, and give feedback. If you make one, I'd love to hear how it went, and to see a picture!
Love it! Shared it!
ReplyDelete